Saturday, July 23, 2005


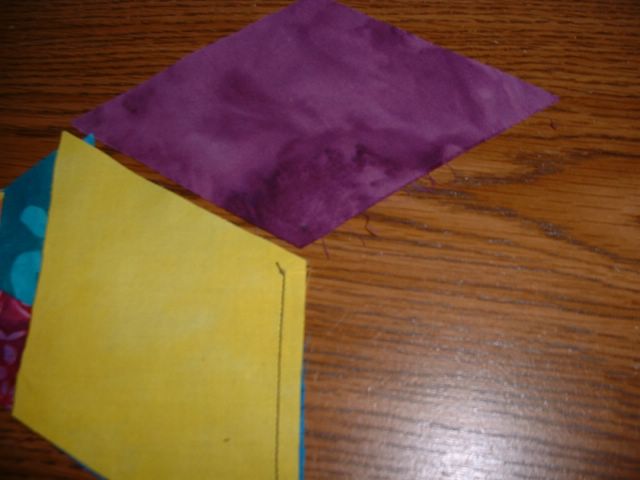
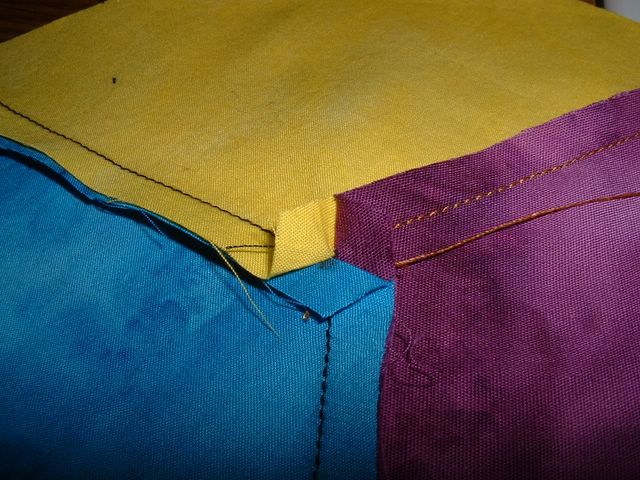
Let's say we"re sewing together three diamond shaped patches, yellow blue and purple.
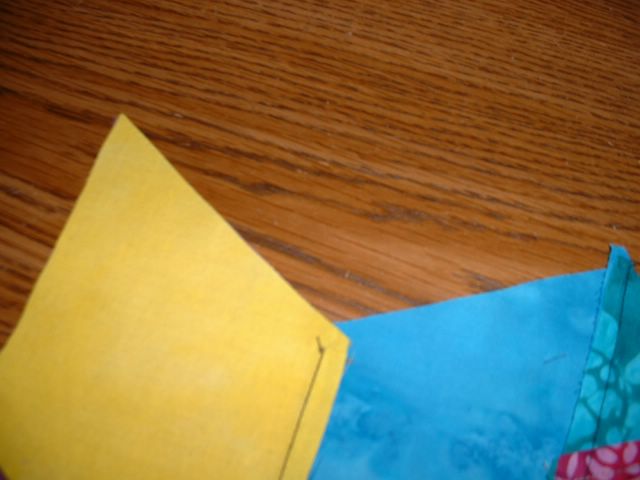
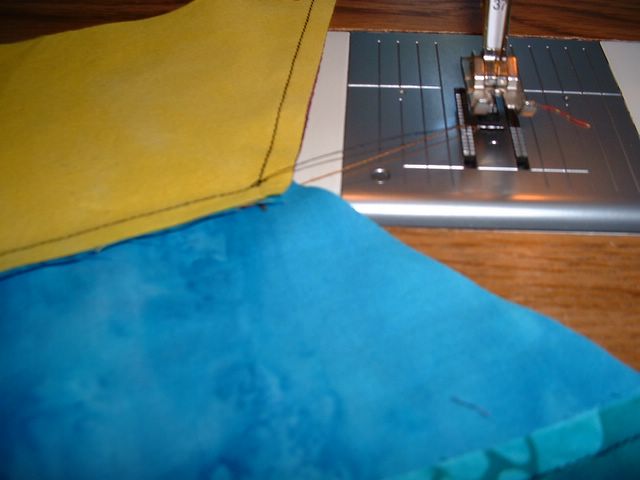
The first thing I like to do is put a small dot with a pencil or water-soluble pen , at the point on the diamond where two quarter-inch seams meet. This is the place where I will only sew up to but not beyond it into the seam allowance. Because the seam allowance is going to be free it allows me to move the seams in whichever direction will give the flattest seam when I get ready to press, and also lets the pivot the seams when I am sewing.

Blue is underneath yellow; sewn together

First I sew the yellow diamond to the blue diamond from the marked point to the other end of the seam, with the yellow diamonds on top . When you are sewing diamonds together you actually can sew into the seam allowance on the very pointy end of the diamond, because generally this particular join creates kind of an "outie" point, and doesn't require the same folding as an "innie" join. Press open the two diamonds with the bulk on the seam going towards the blue diamond. See photo

Now place the purple diamond underneath the yellow diamond, and sew them together from the pointy tip up to your marked dot, with a quarter-inch seam. I generally back stitch at this point, and then take my needle out of the sewing. See photo

Next, you want to fold the the yellow diamond out of the way so that the purple diamond lines up with the blue diamond, and beginning at the dot, where now the yellow diamond and the blue diamond meet the purple diamond, sew the blue diamond to the purple diamond. See photo
,

1. Now if you press the seams in a counterclockwise direction, and the blue seam ies on top of the purple diamond, the purple diamond lies on top of the yellow diamond and the yellow diamond lies on top of the blue diamond, you will see at the center a cute little whorl appears where the free seam edges can line up. See photo number five.
Well, I've tried to explain sewing Y-Seams on this blog, but it is really difficult to keep the sequence organized, my being a blithering novice and trying to talk on the phone while blogging! That will teach me to concentrate! Next lifetime...Meanwhile, you can see the photos, and maybe it will help! Or maybe not. Anyway, thanks for looking! LOL...

Sewing Y-seams isn't so hard!!

Many people have asked me for an explanation of how to sew inset seams or Y-seams after reading my Luminosity Stars pattern in the Fons and Porter March 2005 issue.
Basically an inset seam develops at the intersection of three seams meeting at a single point, such as in the pattern Tumbling Blocks, where three diamonds meet at a single point, or when you sew together rows of hexagons. My Luminosity Stars pattern involves both of these configurations, and lots of Y- seams so it will give you a great deal of practice in learning how to do this! You will be an expert after you make this quilt.
Once you get the hang of it this is actually a very easy maneuver to execute, but it takes a little bit of precision and some advance planning. First of all you need to be able to sew an accurate quarter inch seam. Either you use a sewing machine foot designed especially for quarter-inch seams, or measure from your machine needle to a quarter inch away and mark your sewing machine with a piece of tape.

1. Next, you want to fold the the yellow diamond out of the way so that the purple diamond lines up with the blue diamond, and beginning at the dot, where now the yellow diamond and the blue diamond meet the purple diamond, sew the blue diamond to the purple diamond. See photo number four

1. Now if you press the seams in a counterclockwise direction, and the blue seam ies on top of the purple diamond, the purple diamond lies on top of the yellow diamond and the yellow diamond lies on top of the blue diamond, you will see at the center a cute little whorl appears where the free seam edges can line up. See photo number five.

You don't necessarily have to press the seams this way but I think it looks cool. On the next photo you can see two different ways of pressing the seams, and they both work but one has a little more bulk then the other one. Sometimes I might want to press them all one direction to prevent shadowing where a light color is going to show dark colors behind it. It's your choice.
The same kind of procedure applies for sewing together the hexagons in this case you again only sew up to that quarter-inch.and that allows you to move the seams this way and that so they line up properly. Good luck and I hope this helps.