Pullover Join by Jeri Riggs July 18, 2024
Here’s a method I use to join the fronts of a top-down sweater in progress, converting what could be a cardigan into a pullover sweater. I often use a 6-stitch ribbed border on both front edges, as it is easy to work at the same time as I am making the fronts, and gives a nice clean edge at the same gauge as the rest of the garment.
If it were a cardigan I would simply continue this edge down the whole front of the garment.
If I want instead to make a pullover front, I would join the fronts when I have reached my target stitch count. This involves making some of the edging stitches disappear and turning the remaining stitches into pattern stitches.
In this example, I am working a leaf lace pattern, and have nearly completed a right side row, except for the last 6 stitches of the row, which is the edging:


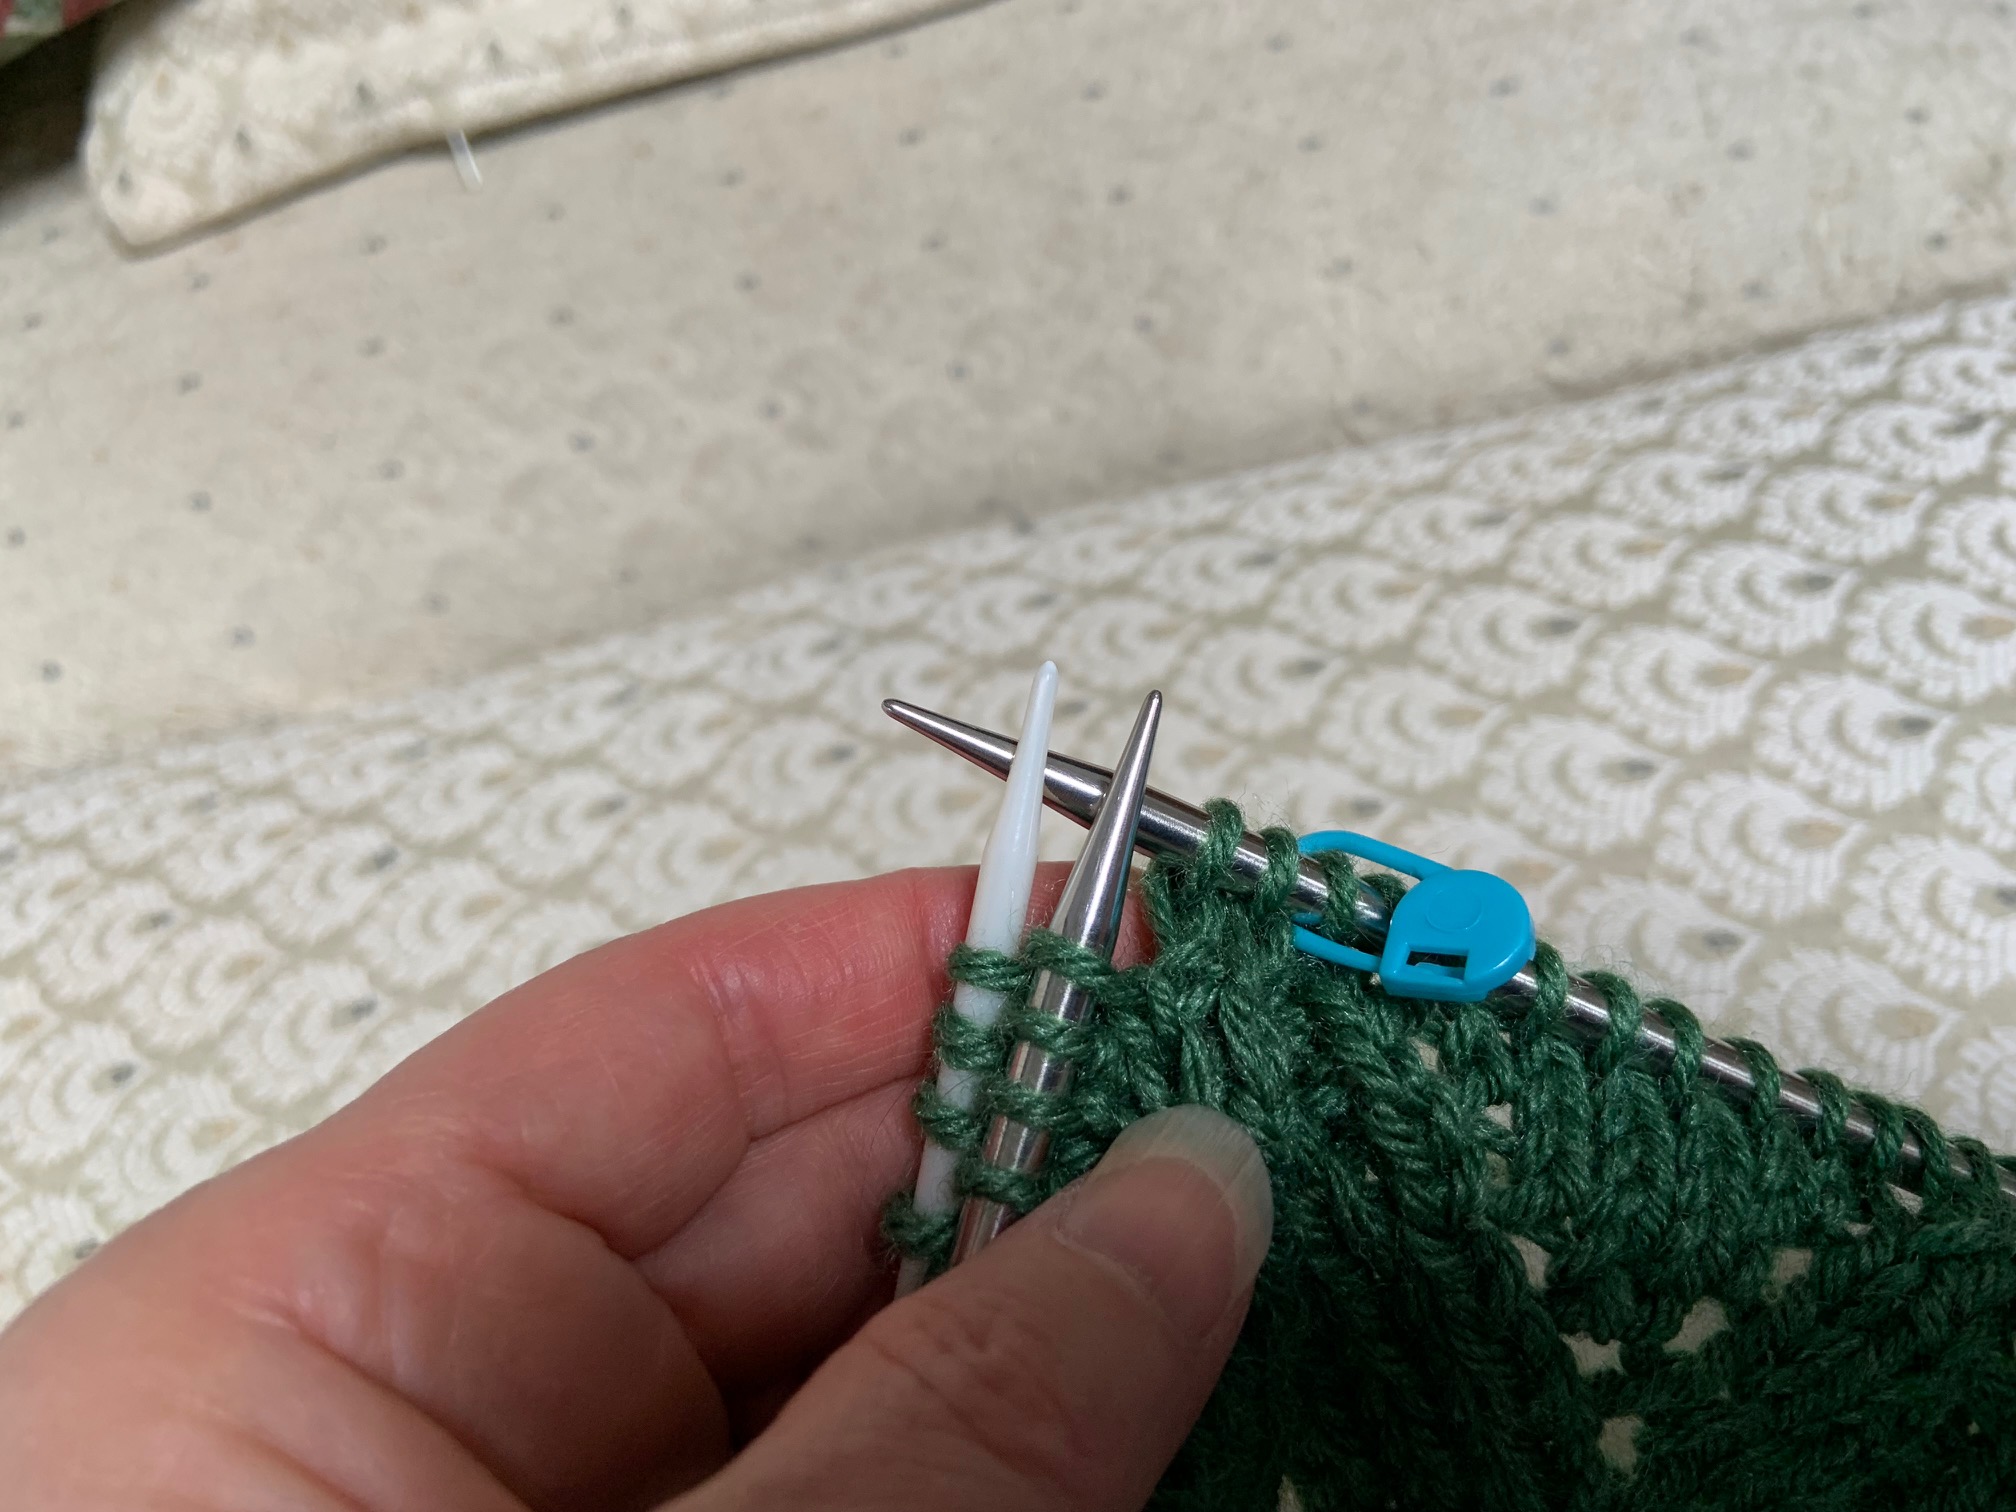
Then hold the DPN 6 to the back of the work, overlapping the
first 6 sts of the entire row with the 6 stitches on the DPN. Then knit them together in pairs, one front stitch together with one back stitch.

So, knit the first two together by inserting your right hand working needle into the first stitch on the front needle and the first stitch on the DPN.
Then knit them together as one.


Now I am going to merge all of these 12 stitches (6 in the front and 6 in the back) into 6 stitches by knitting them together in pairs, much as you would work a 3-needle bind-off but without binding them off.


Do the same for the remaining 5 pairs of stitches.
Now the join is complete and you have merged the fronts and eliminated 6 stitches. Usually the next row will begin in the middle of these 6 stitches, so you can move your counter marker, as the next row will often be a plain row, depending on the pattern specifications.

